
Sashiko
complete process

I recently started learning Sashiko, a Japanese style of embroidery and I have been enjoying it so much. It gave me something solid to learn in embroidery as I was just blindly practising stitches, so I guess in a way it helped.
I have always loved patterns, logic and slow things, so that’s why I took a liking to this art instantly.
Anyways, I adore the different steps that are required so I took pictures of the entire process, because even if the outcome can't be good, the process made it worth it!
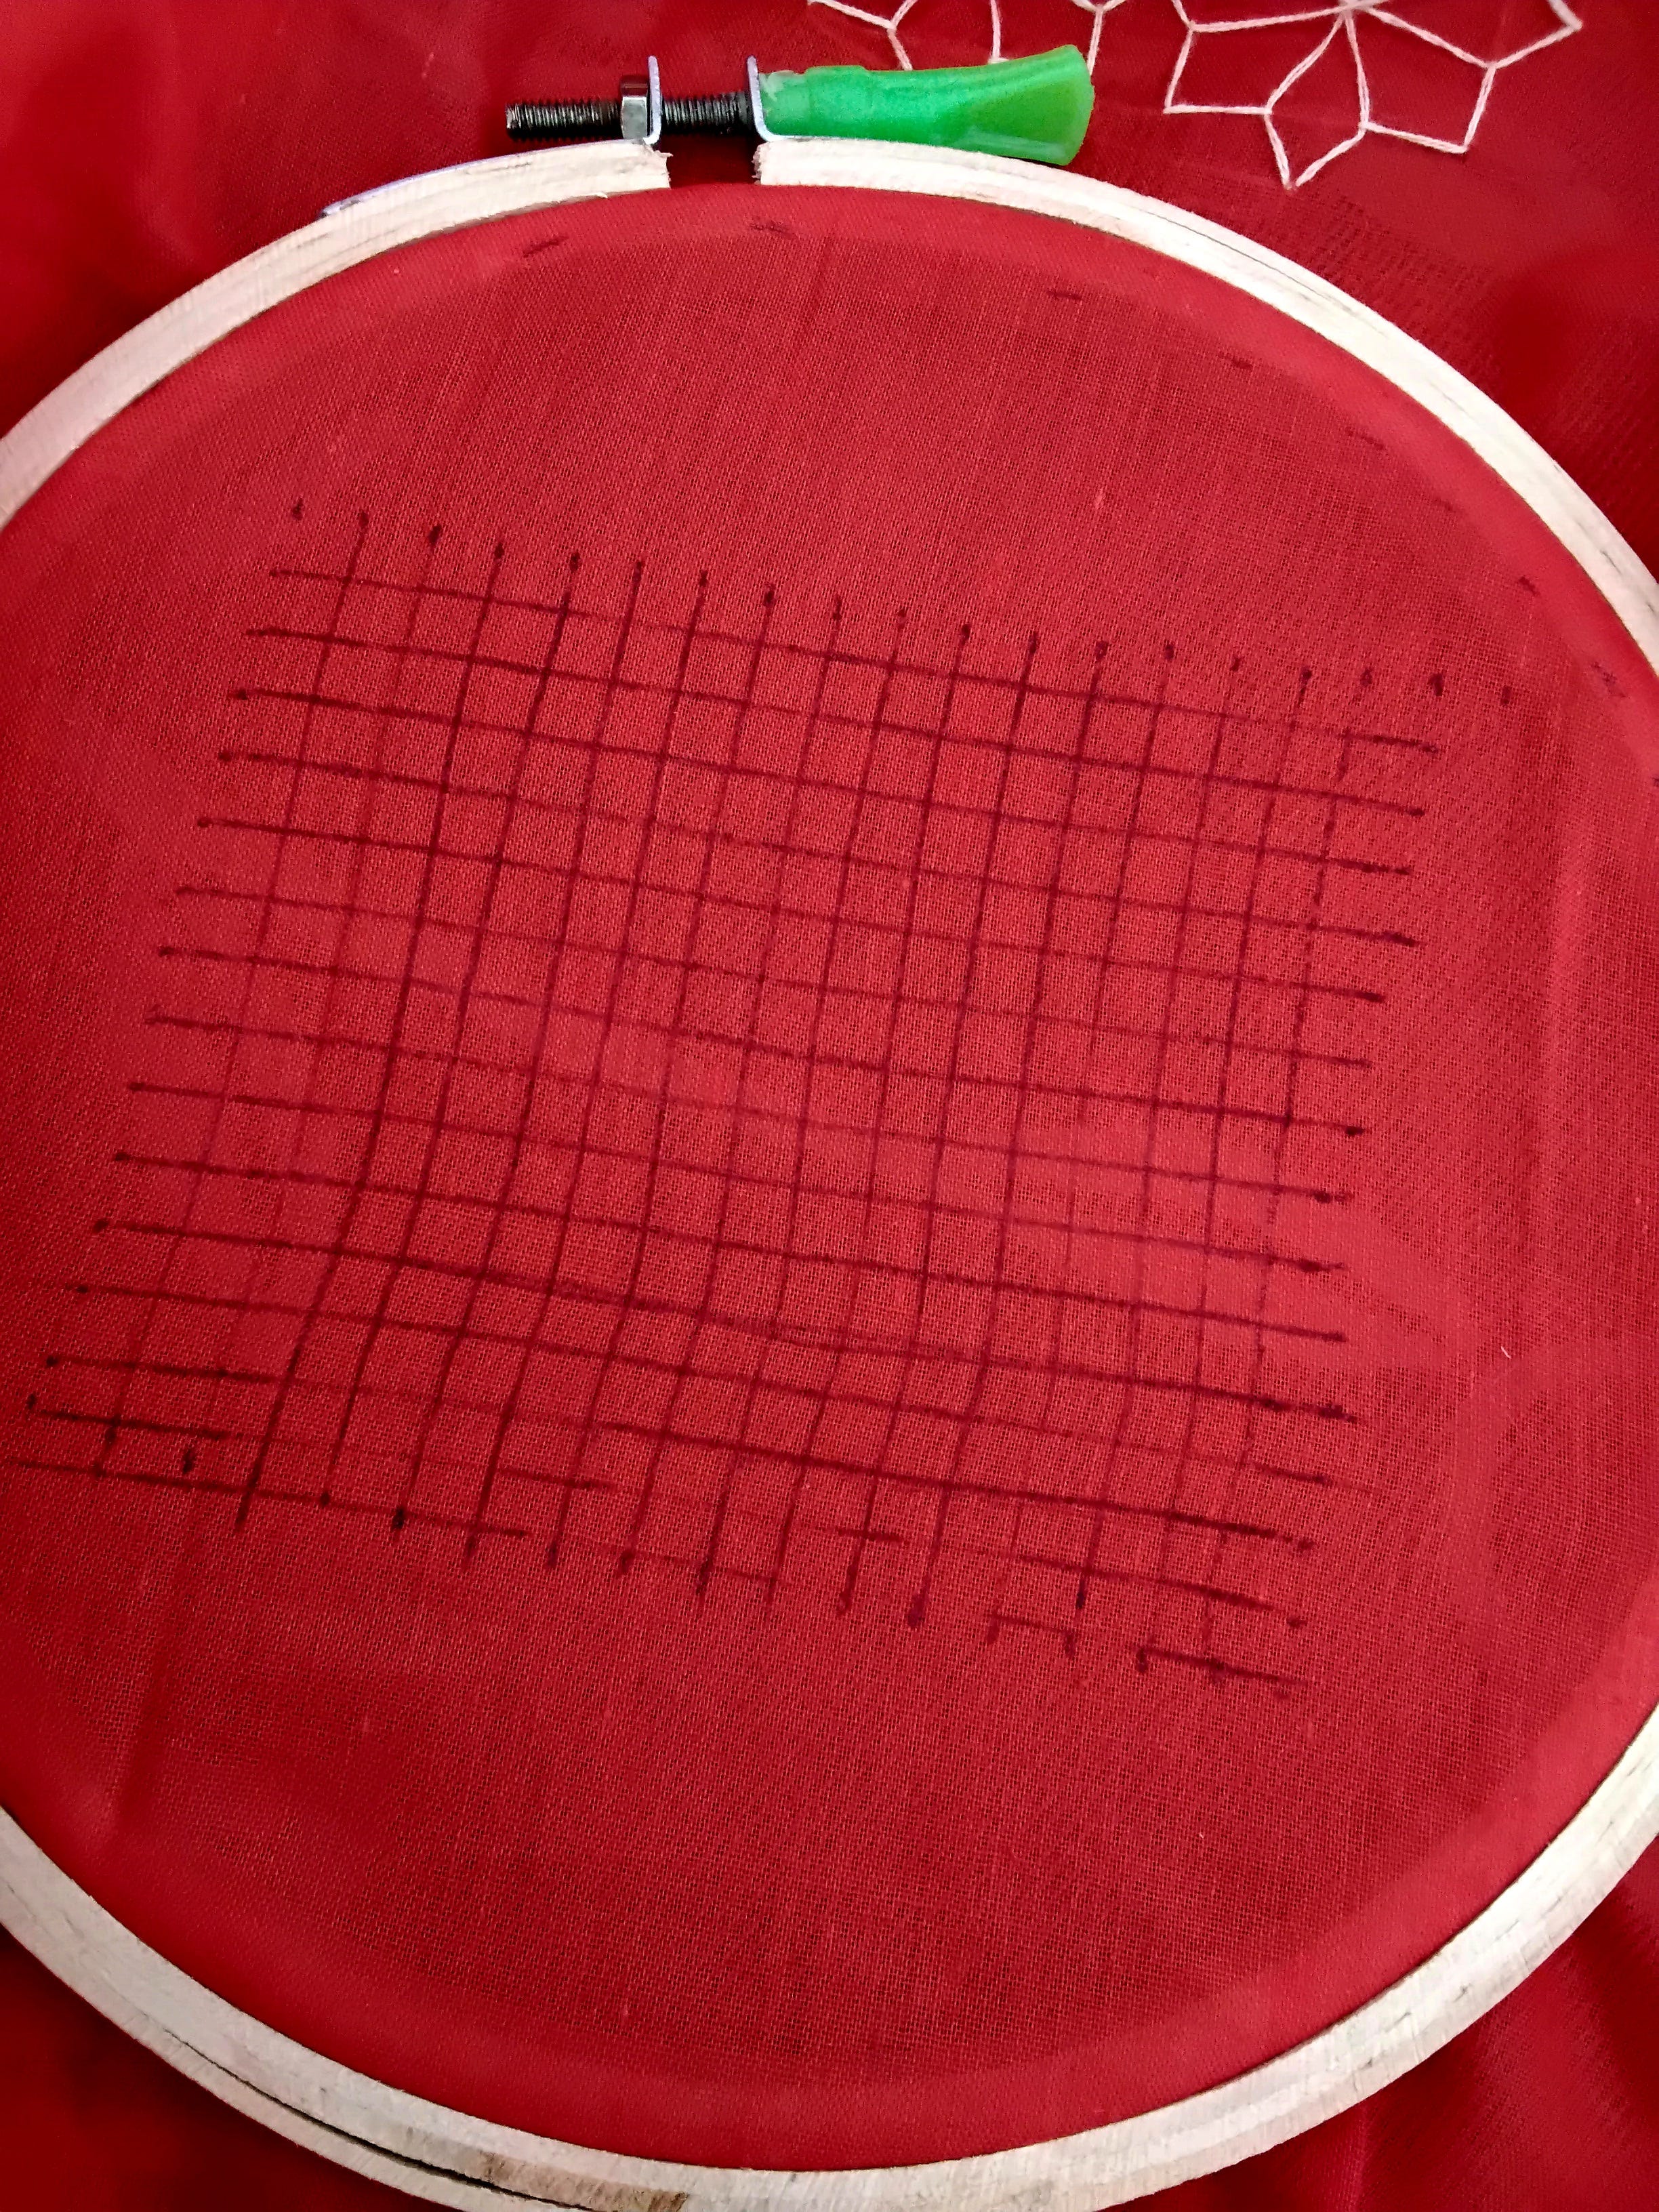
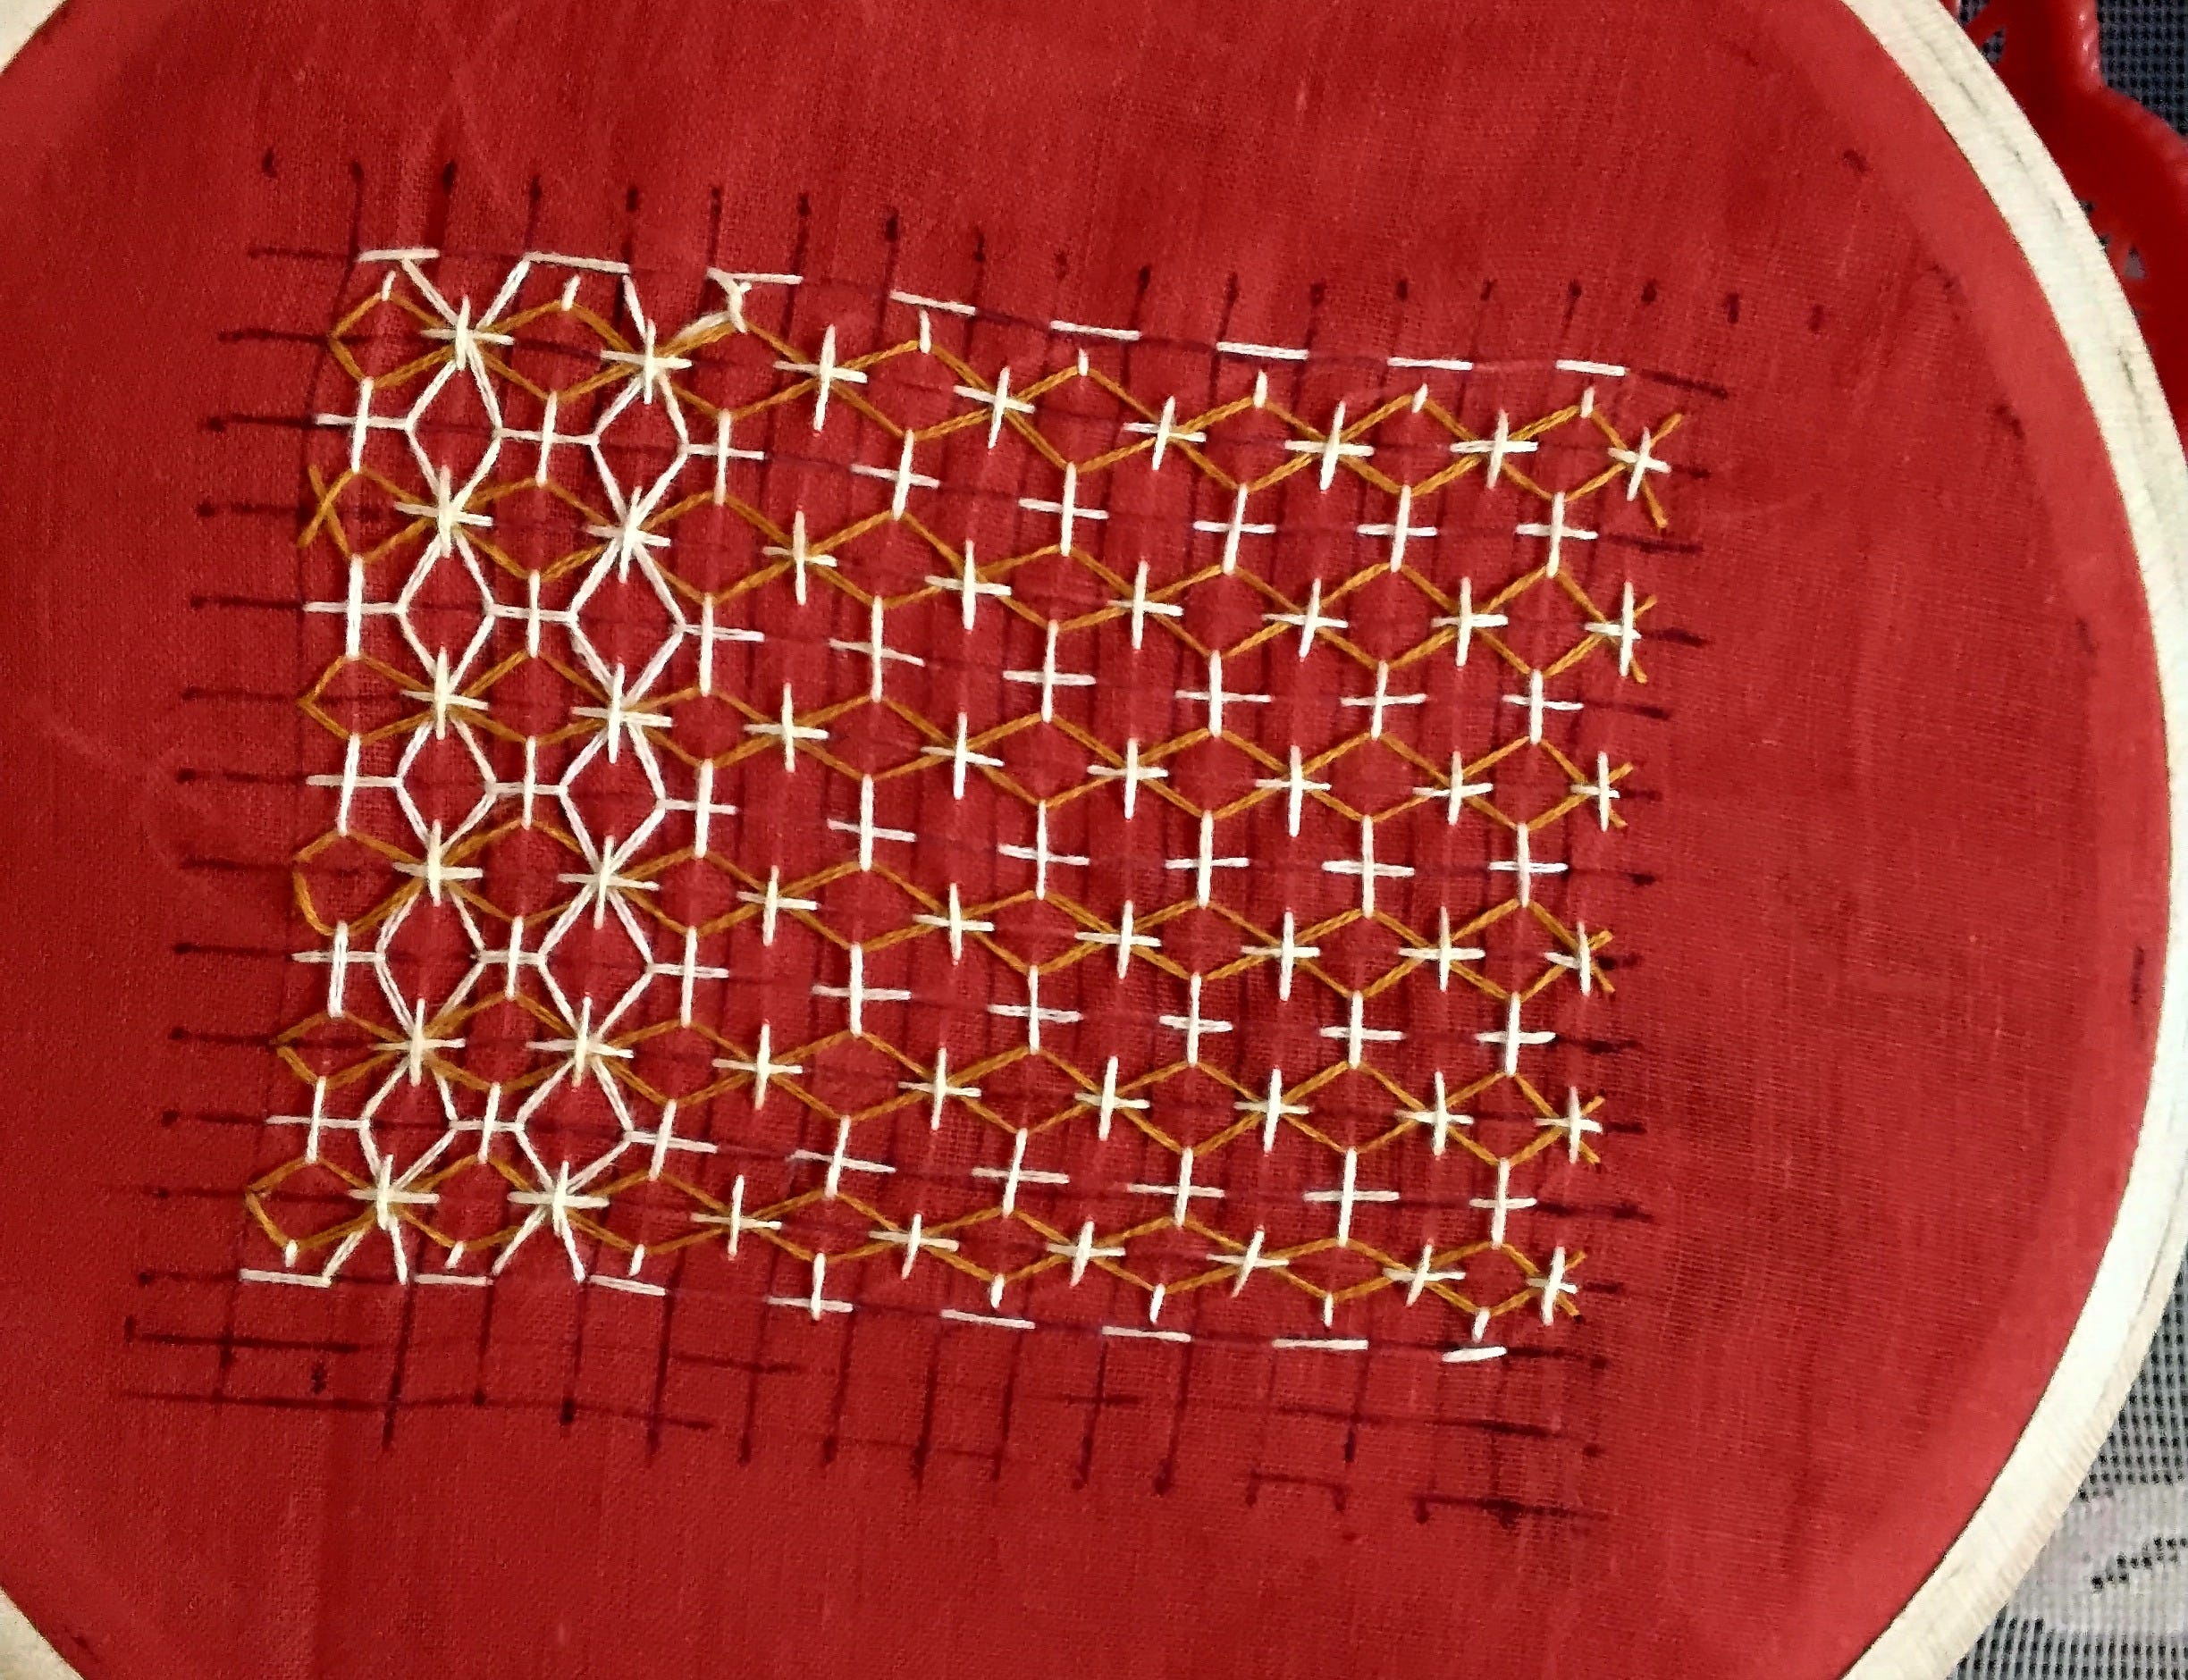
we start by making a grid on a fabric. In my opinion THIS is the toughest part as who even likes to draw lines!? (specifically 6mm lines )
so I drew the lines using a friction pen so the lines can be easily erased using an iron.
Next step is to create a base using running stitches.
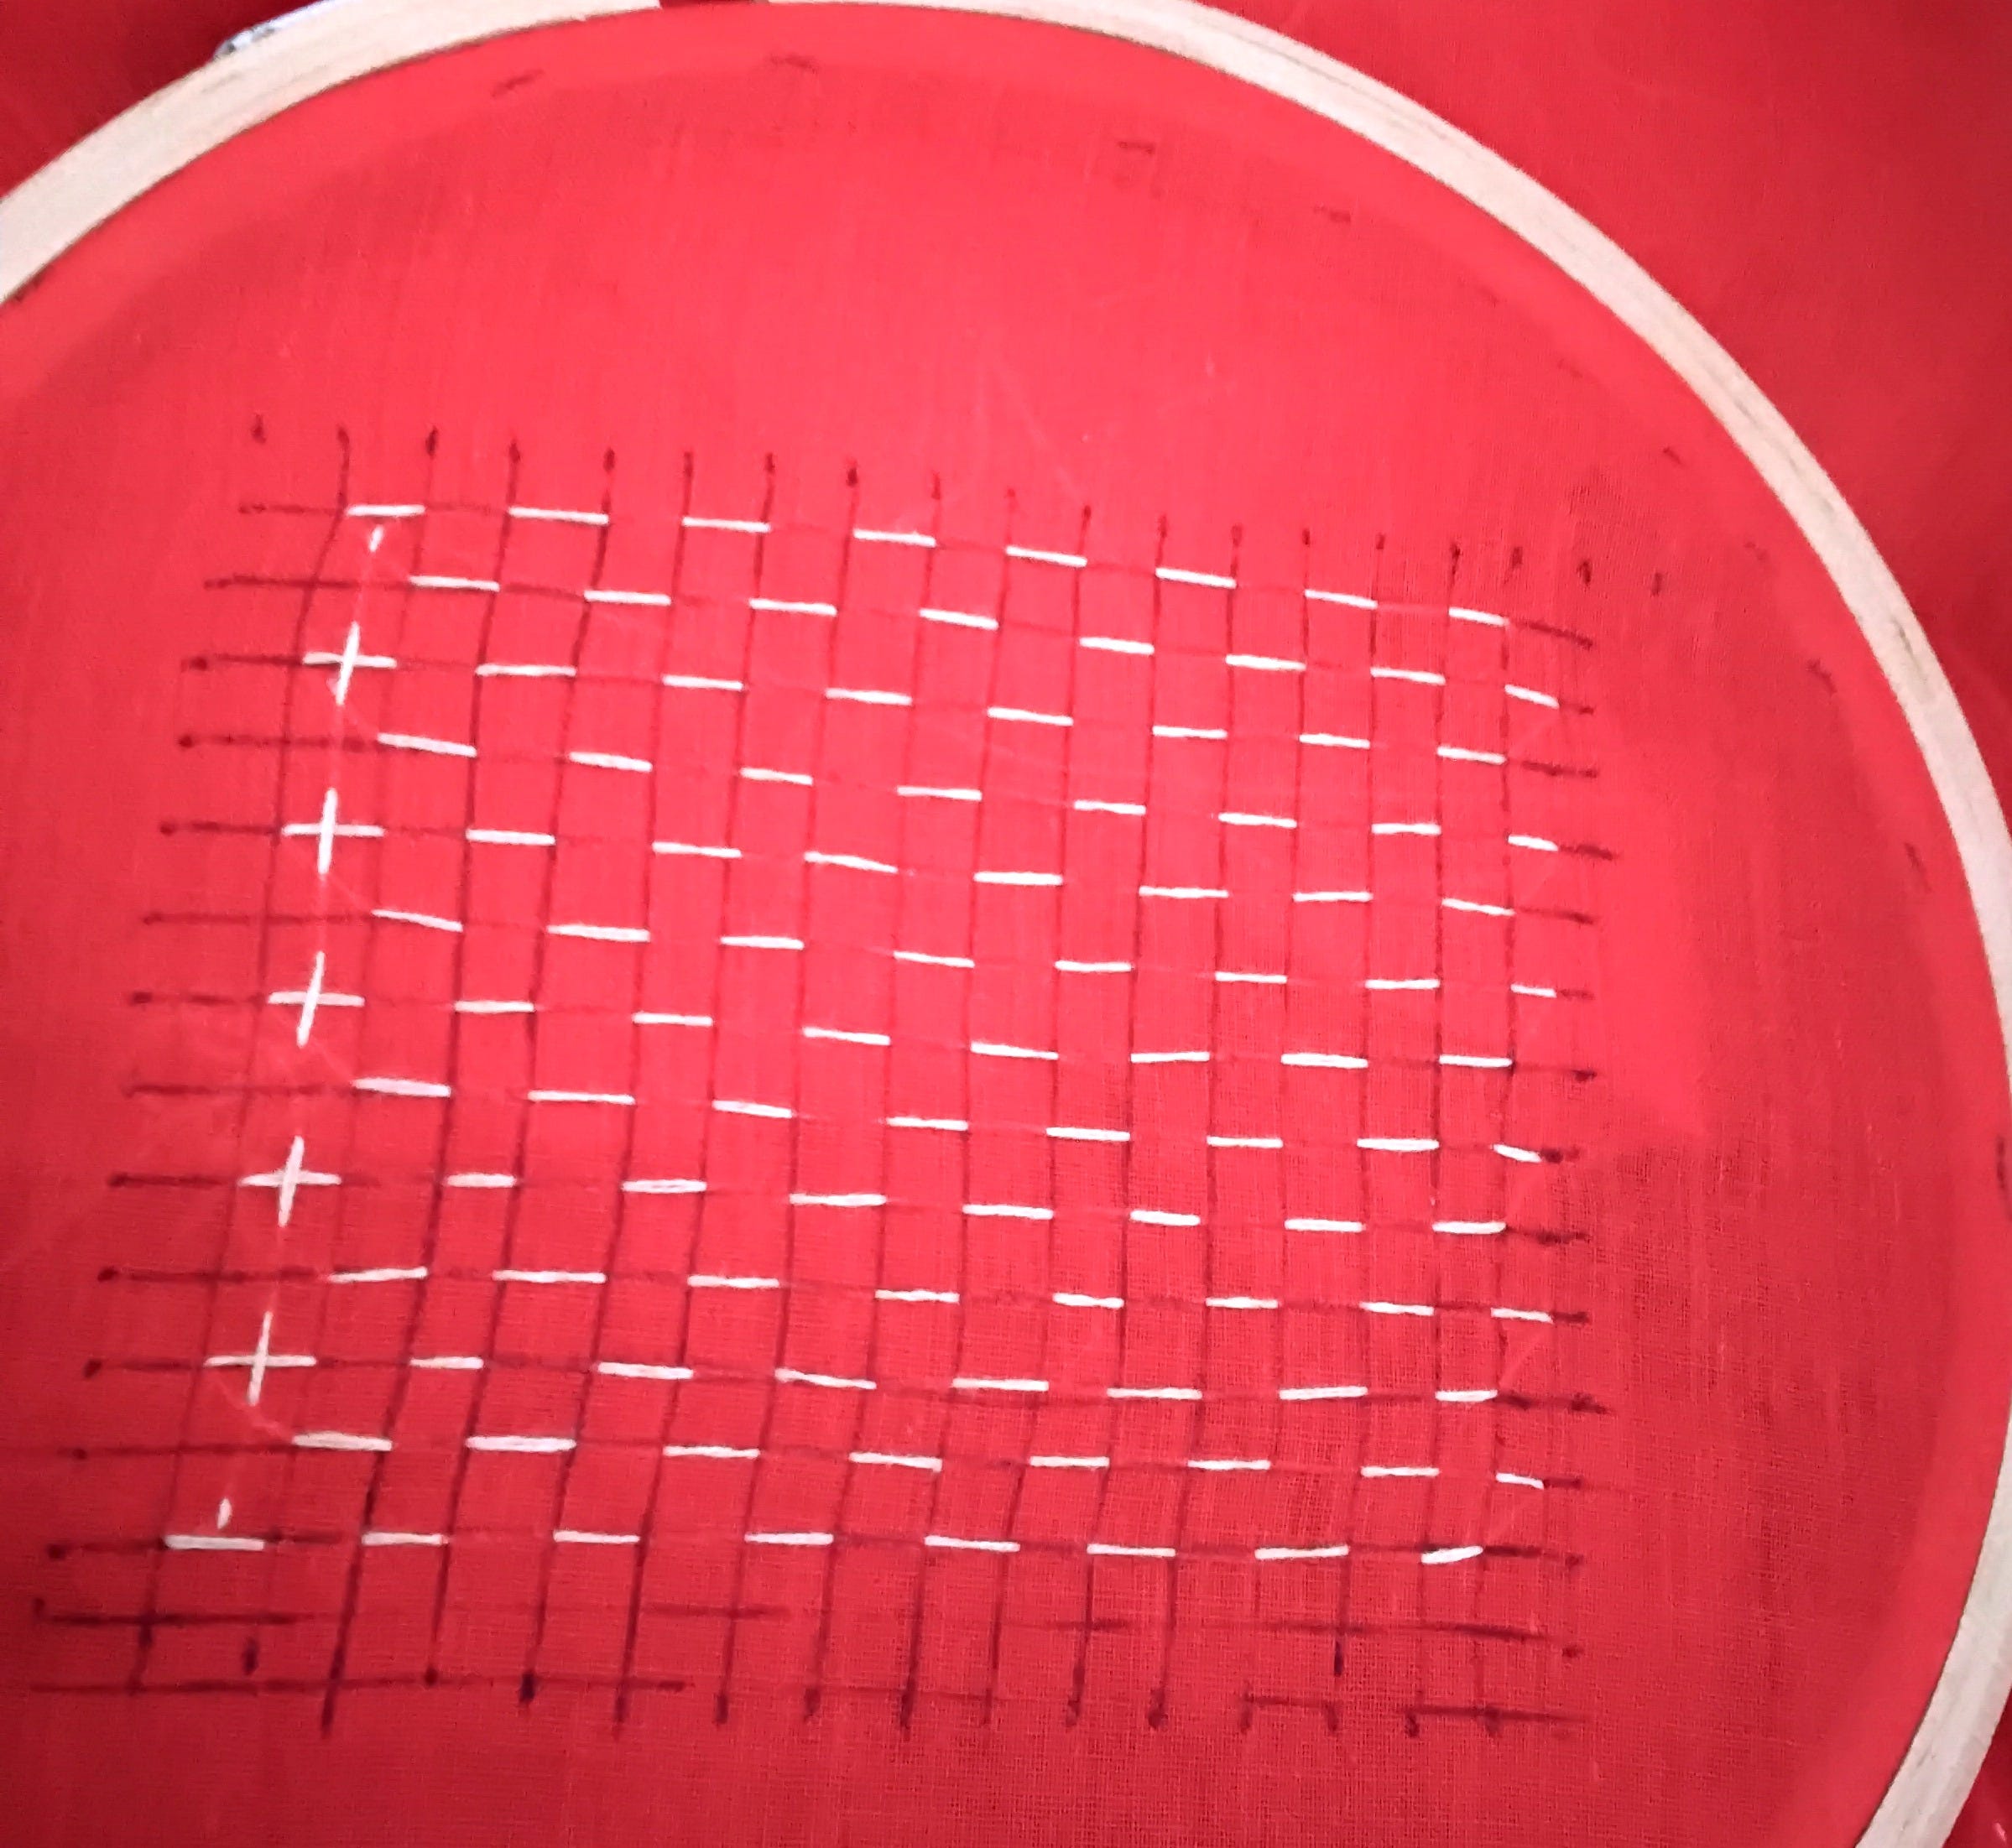
Then we do another row of running stitches in the horizontal direction.
I feel that this is the real beauty of Sashiko that you can create some gorgeous designs only with a nice and even base of running stitches.
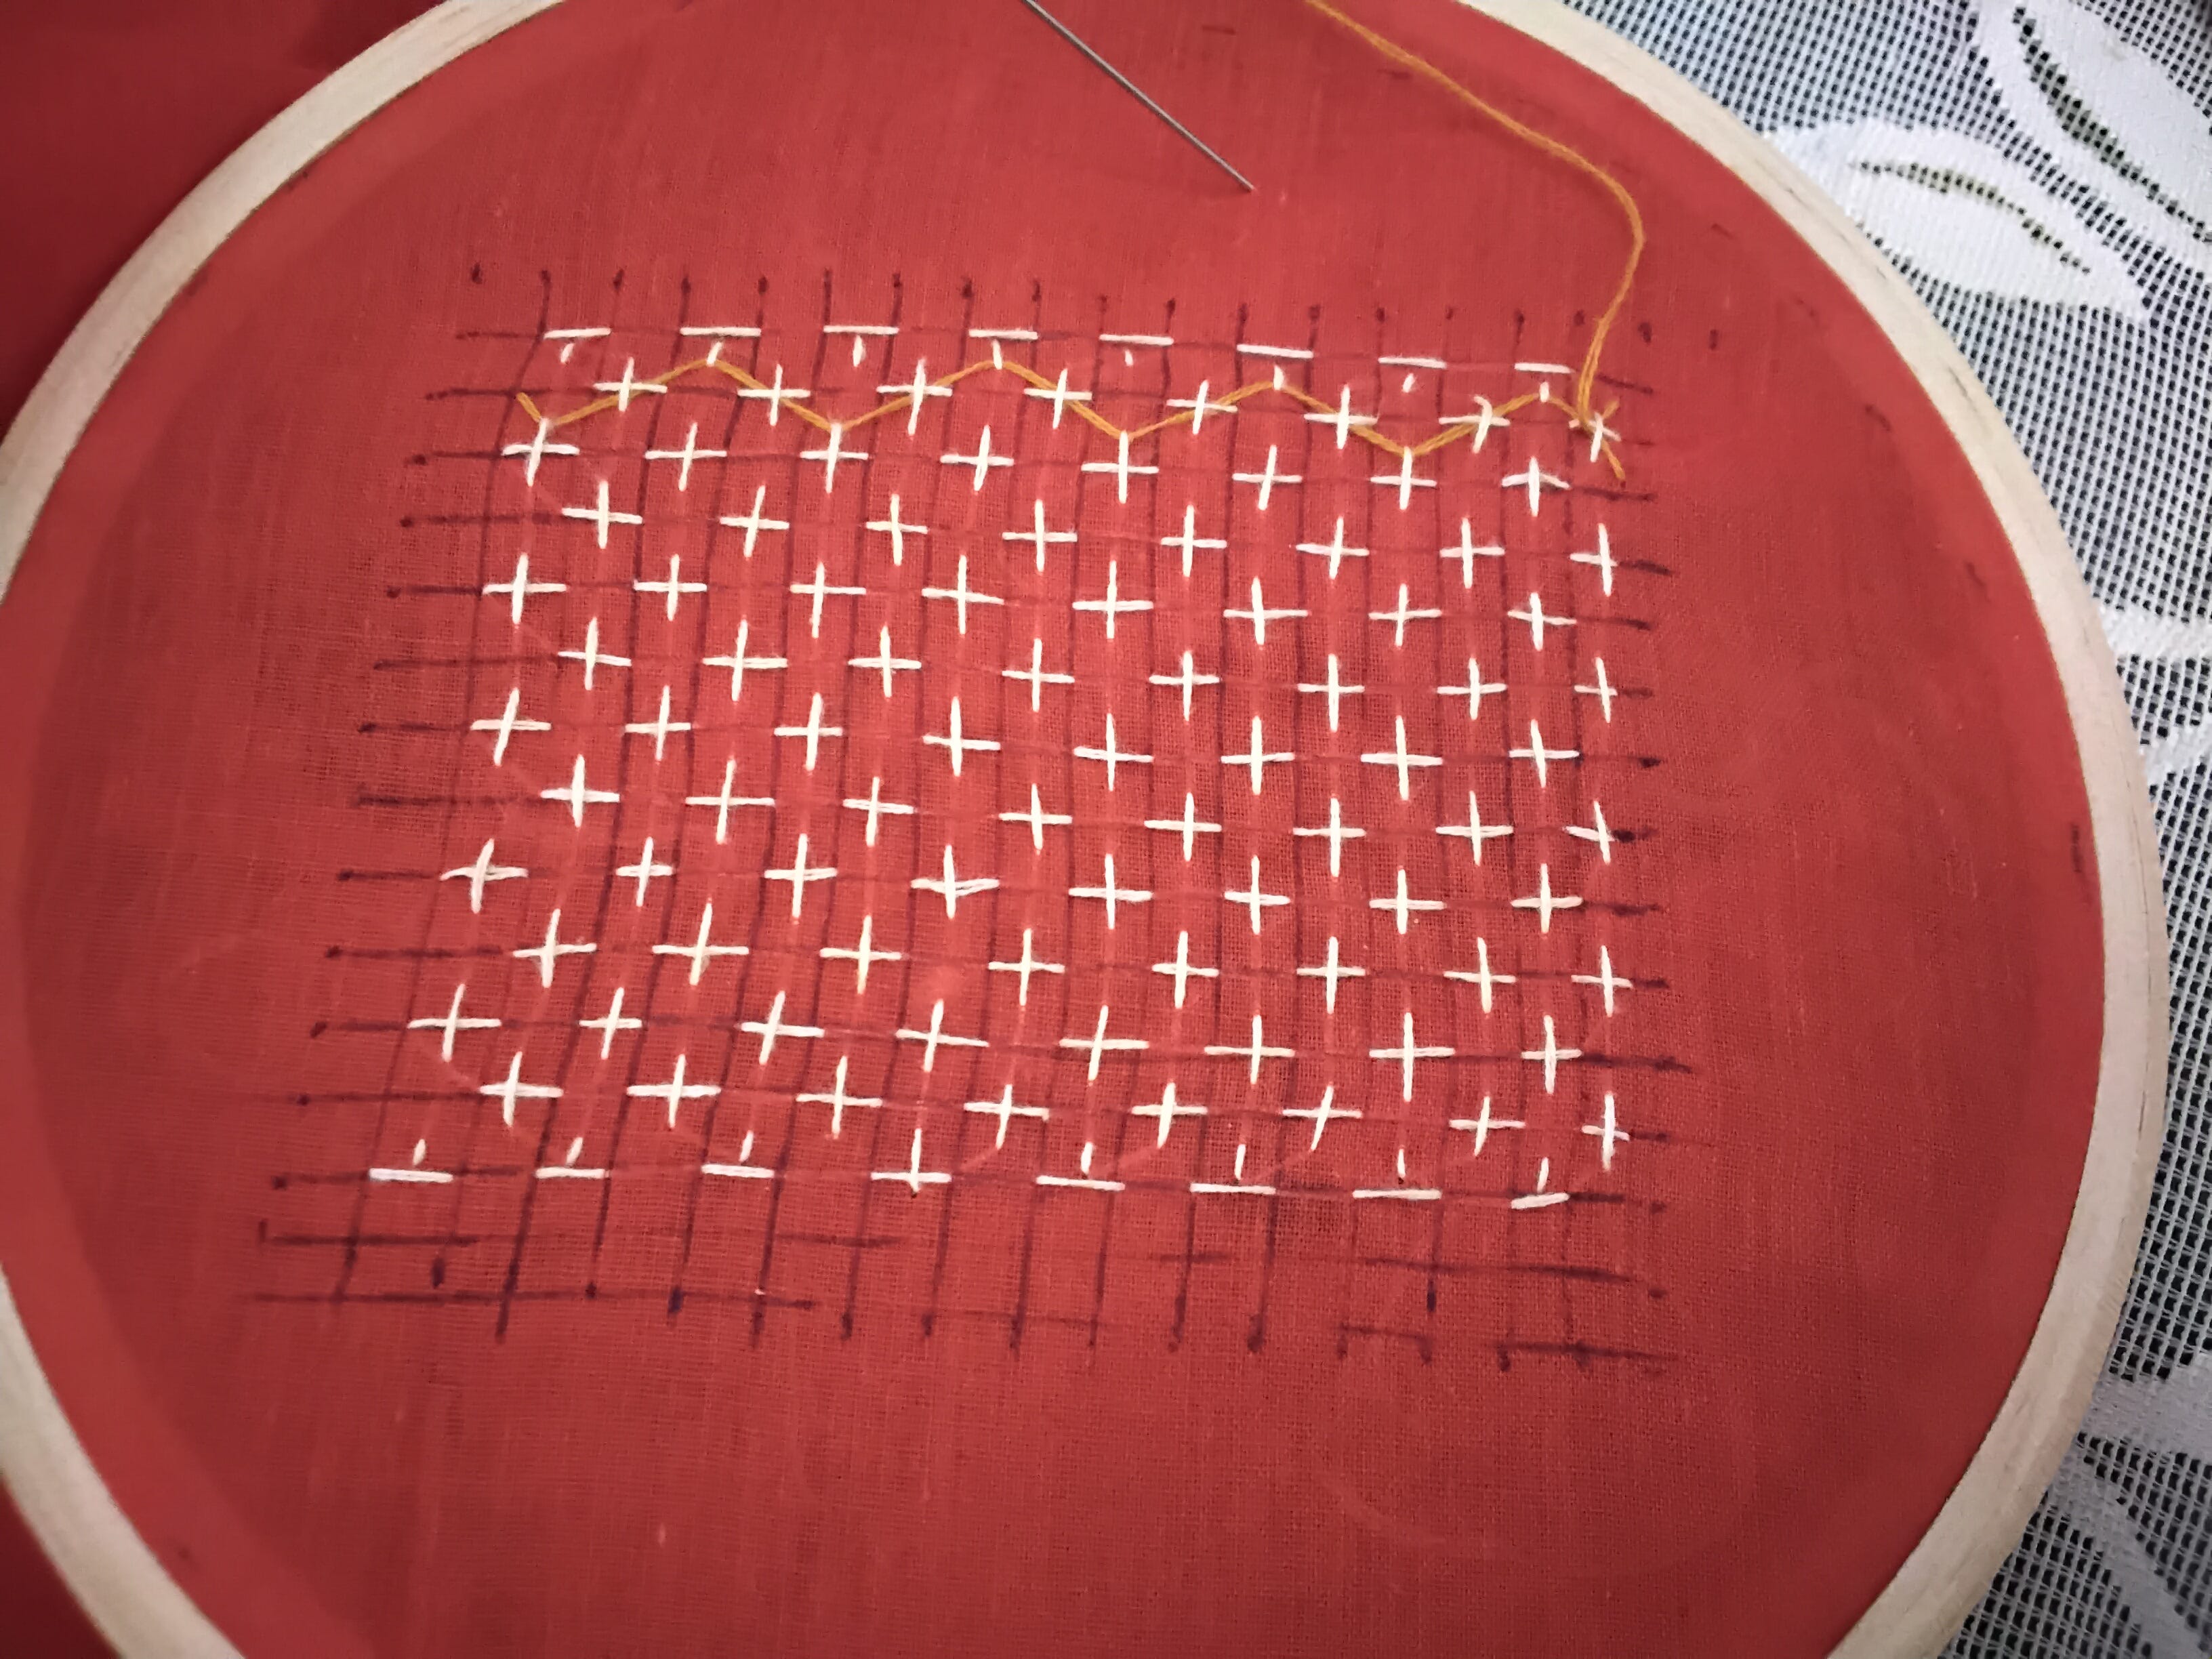
For horizontal weaving I used a different colour and had to stitch into different parts of the crosses created to form a pattern.
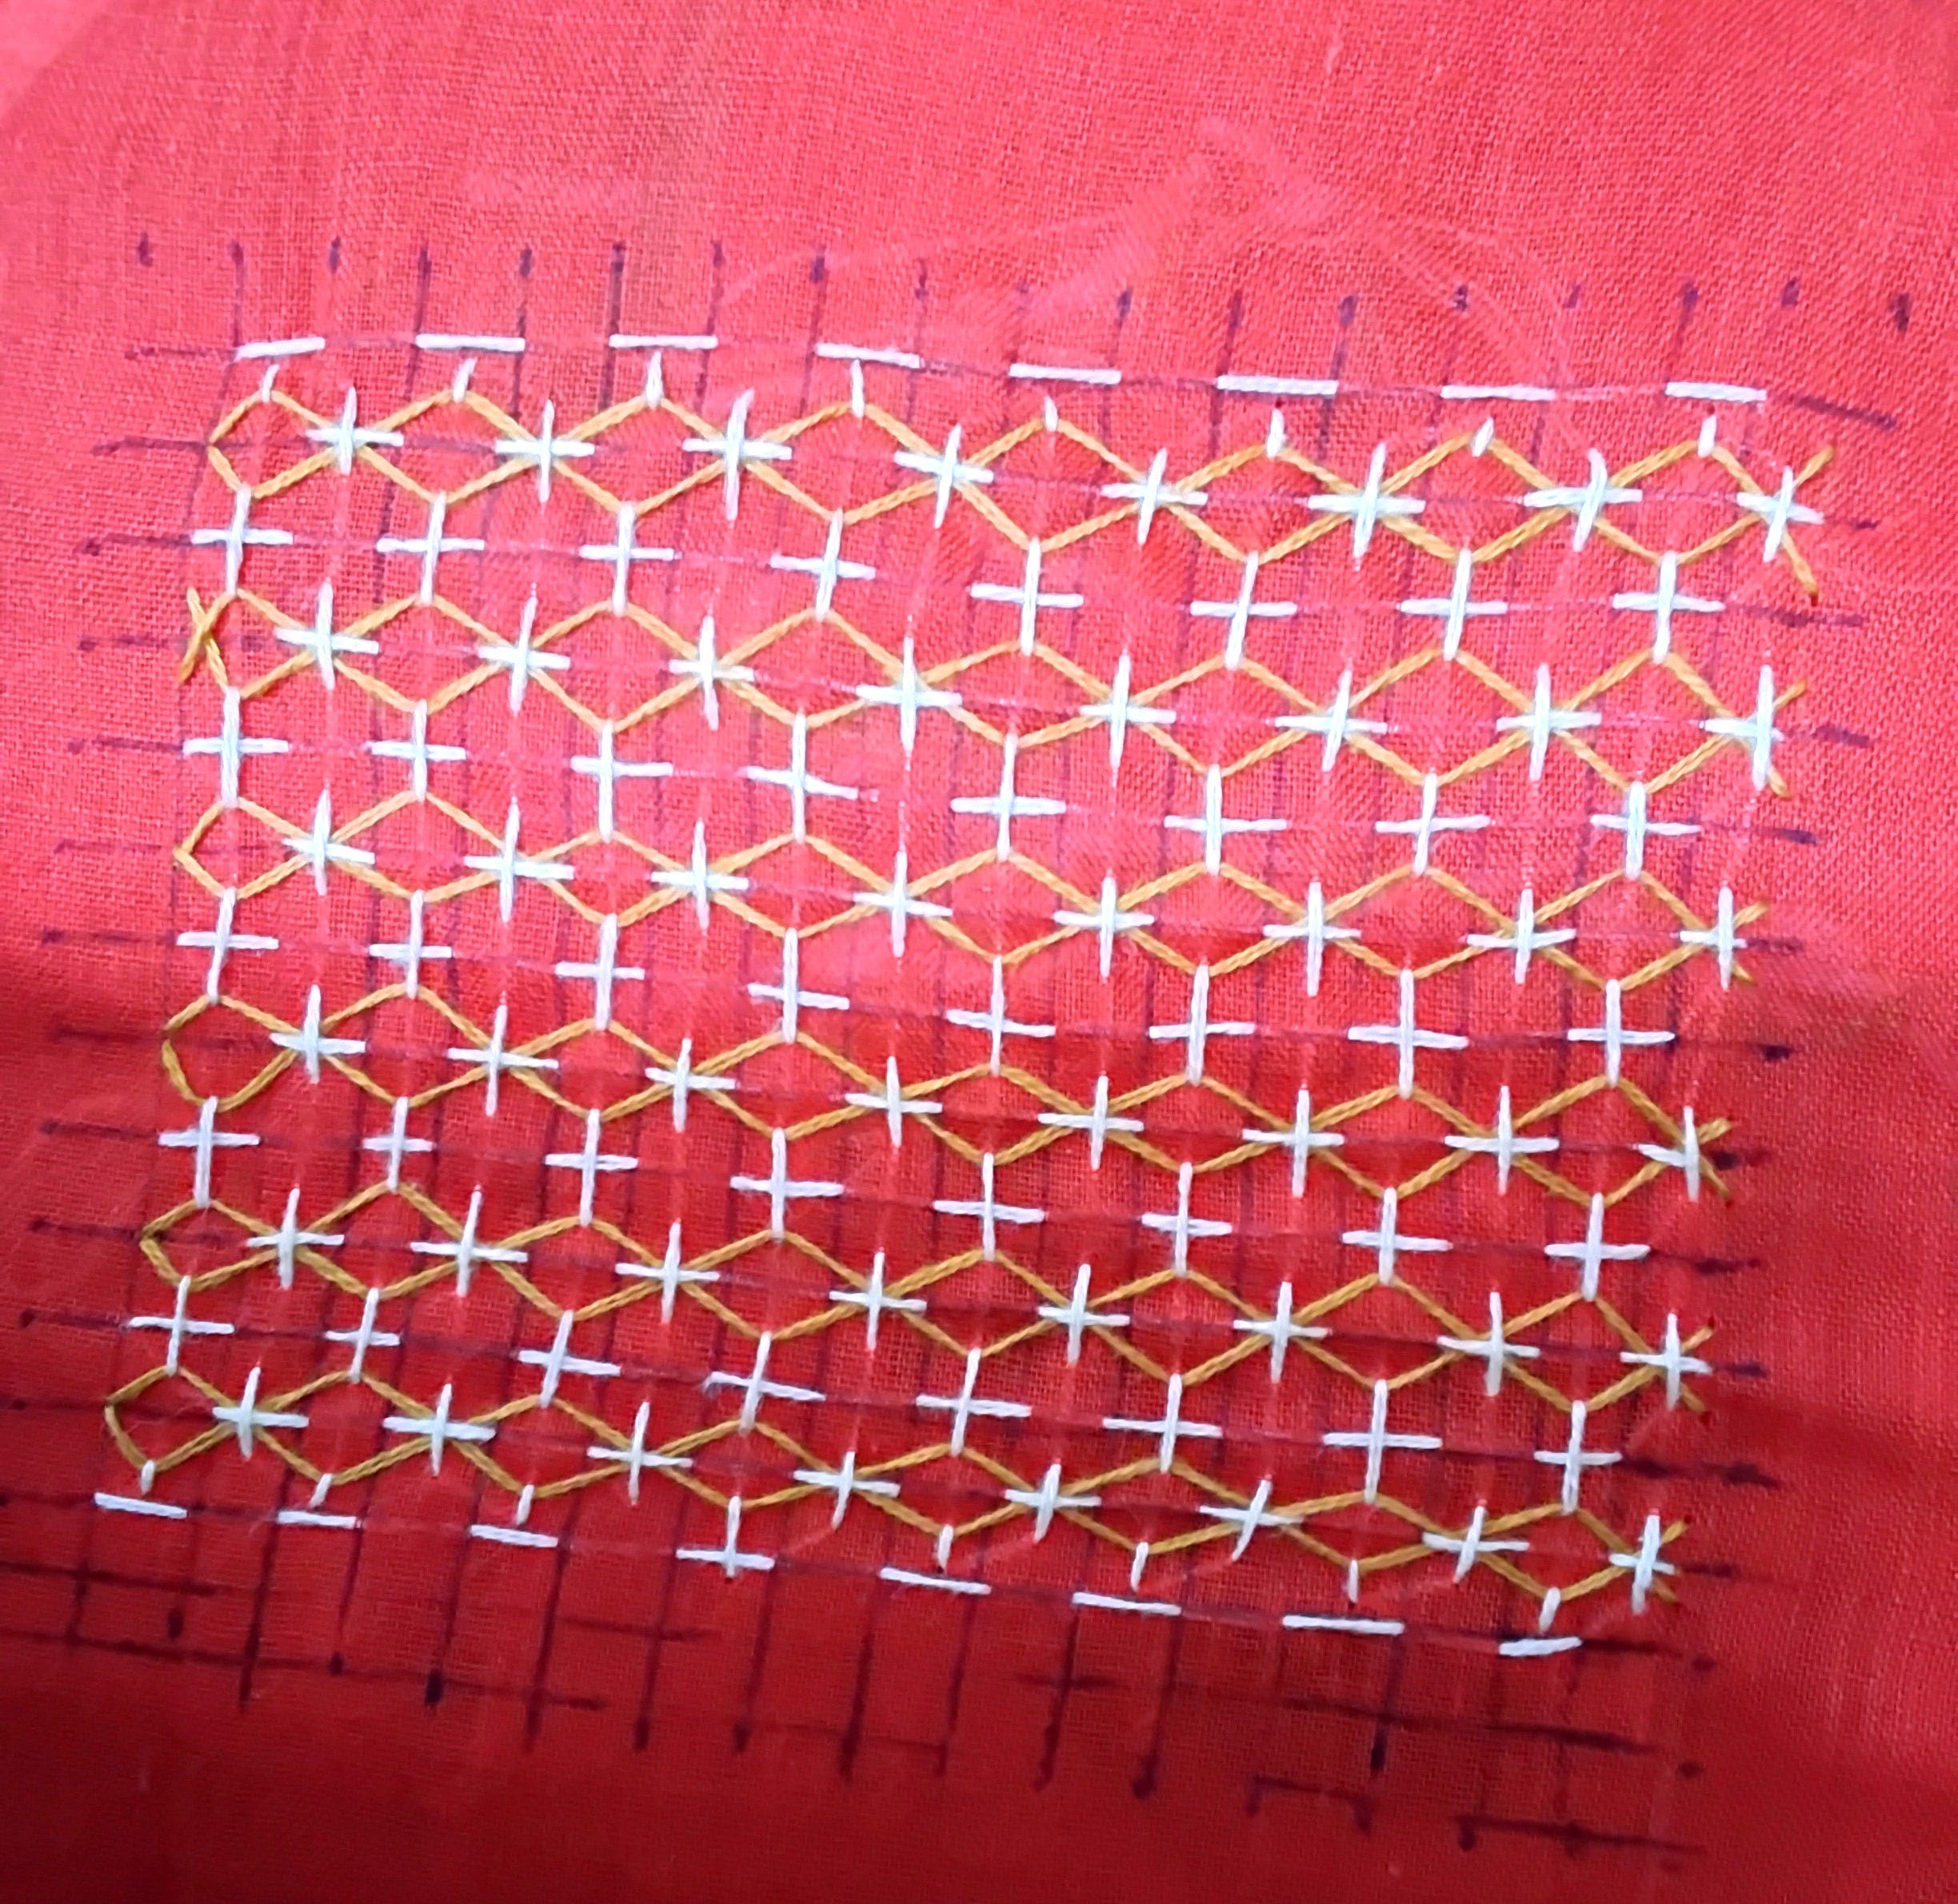
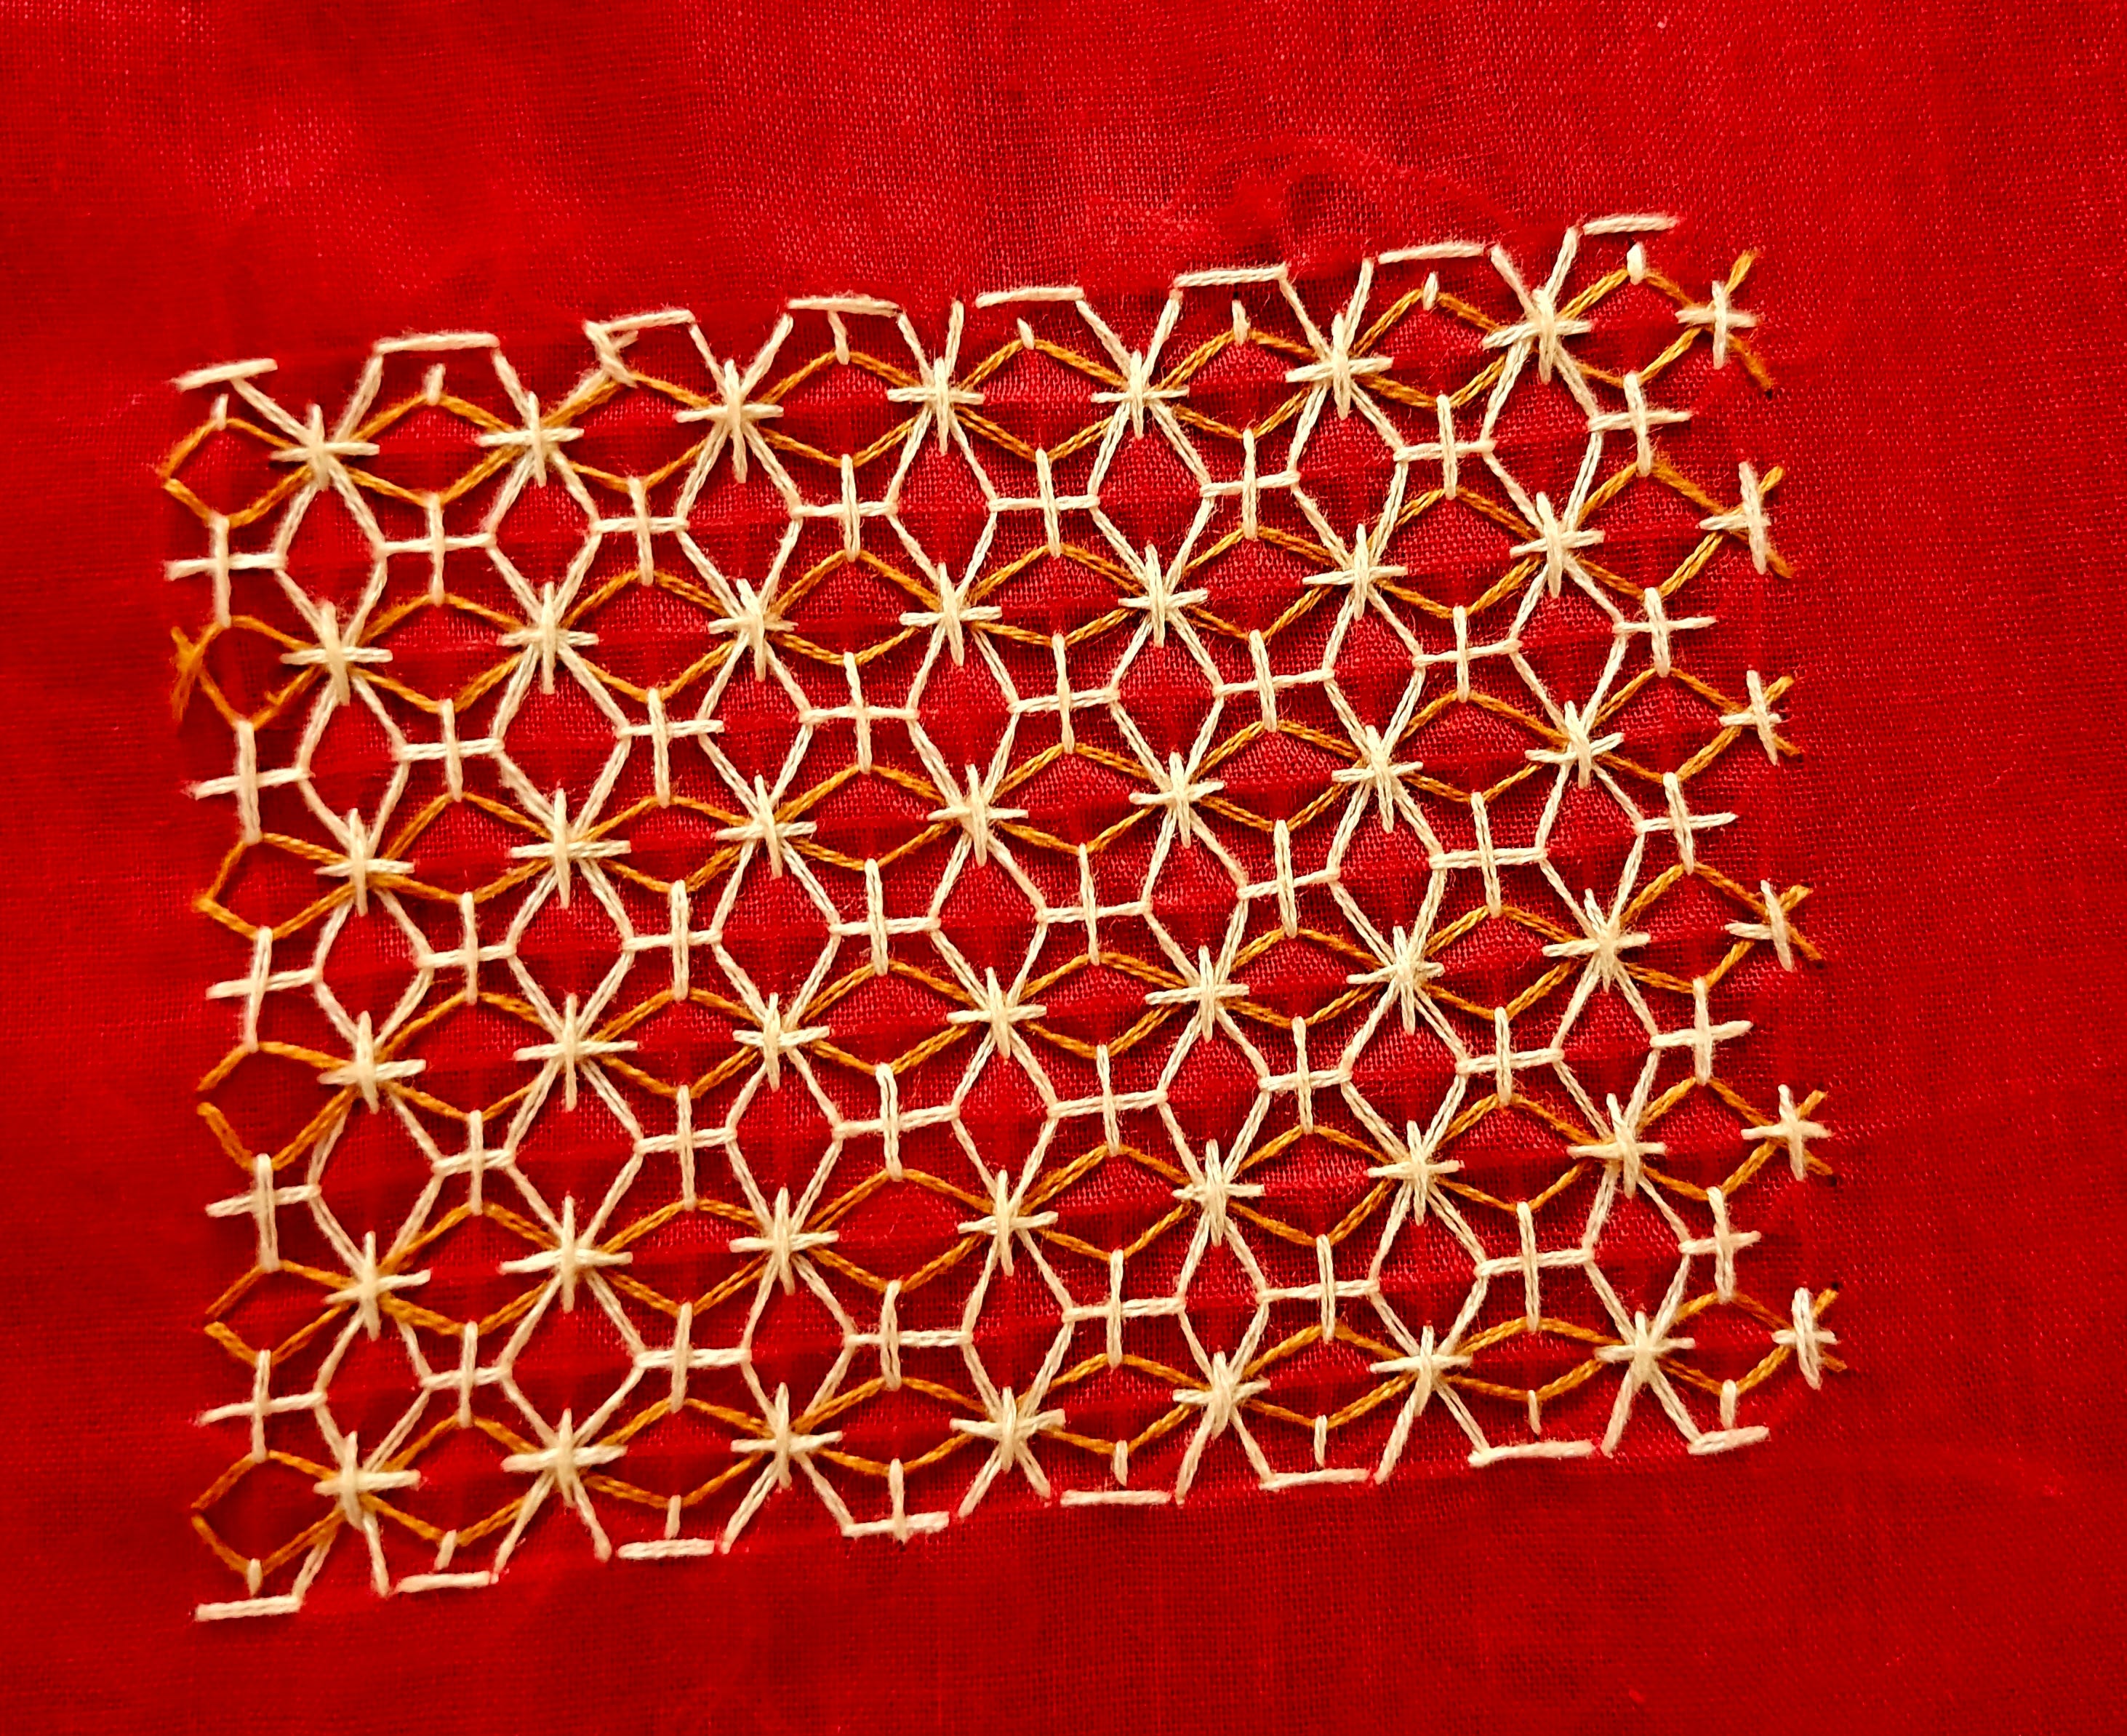
Originally I wanted only beige crosses and brown stitches but since the brown was barely visible I had to use beige for the vertical weaving.
And now came my favorite part of ironing it so the black grid vanishes with the heat and the design looks neat and pressed.
✨️ta daaaaa ✨️
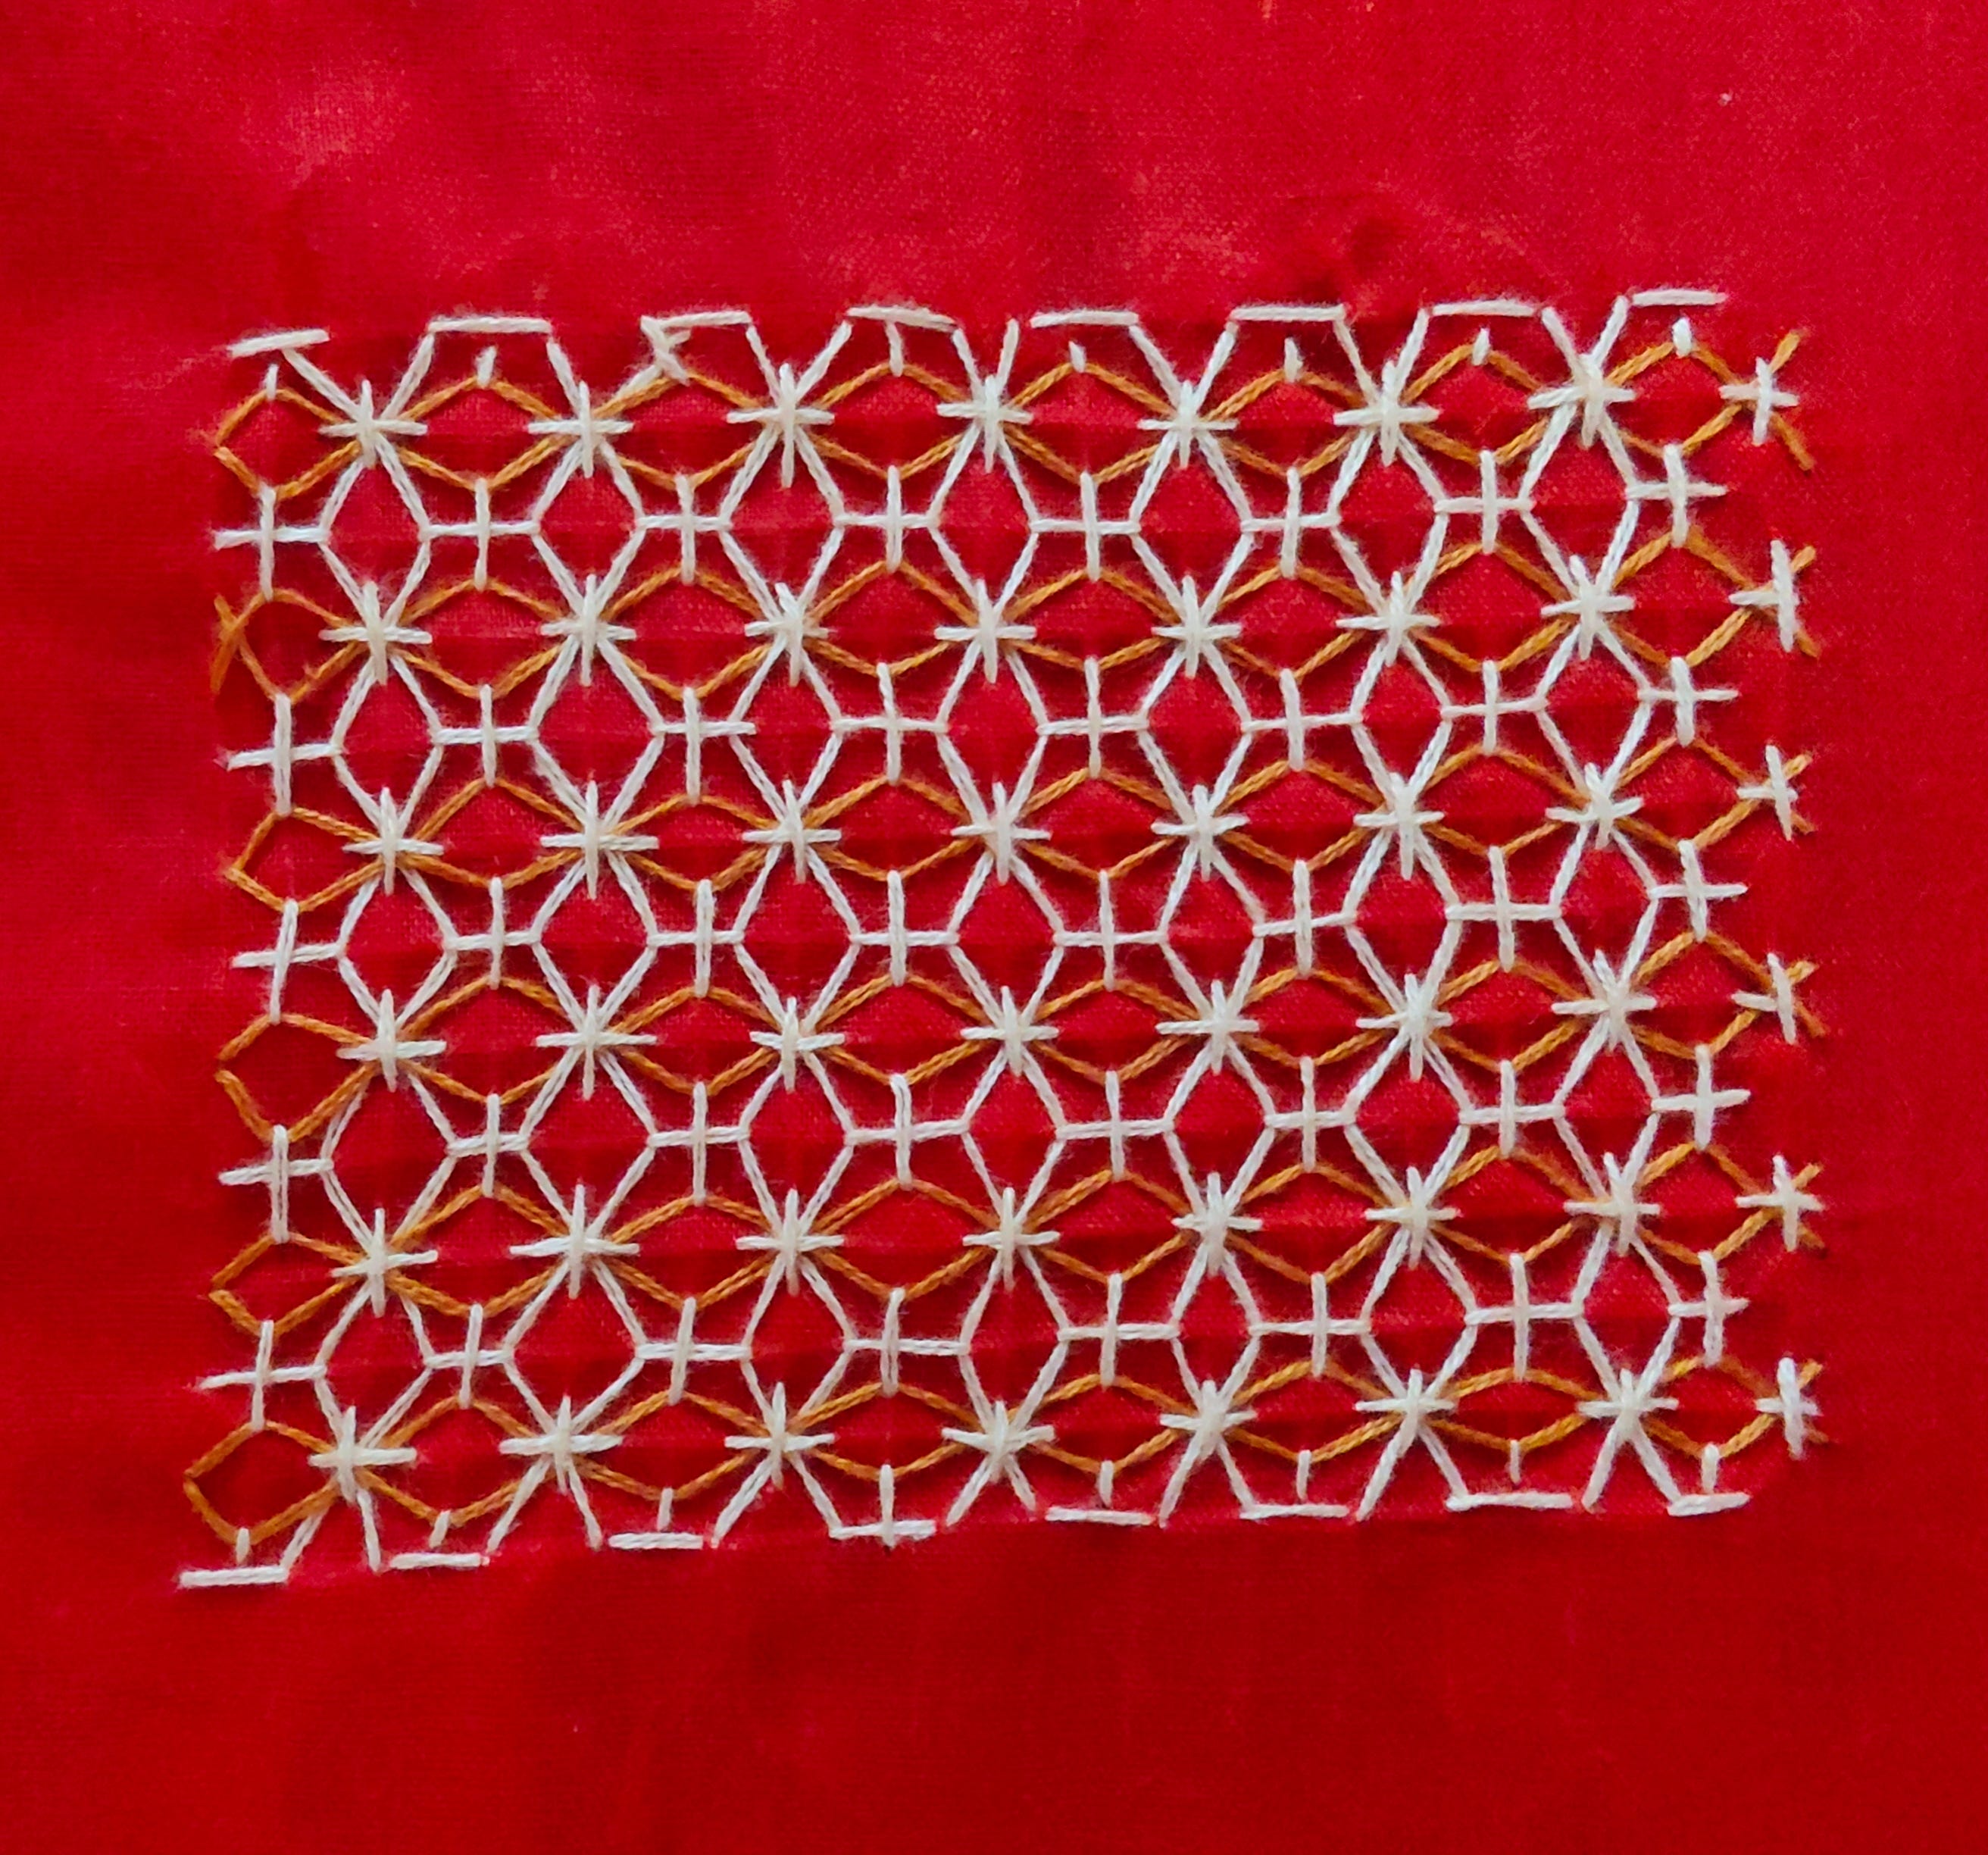
Maybe sometimes the process can be more important than the outcome and it's fine if it didn't come out well even though I had an amazing time doing it, so I guess that's what matters the most: the experience
Thank you all so much for reading this 🩵
Beautiful 😃
Beautiful! I love the meditative peace sashiko brings.